Similar rock, different lab, different results. Why?
EPI Question of the Month:
Jim, you are certainly an expert on laboratory triaxial rock testing, with many years of experience including assisting many rock mechanics laboratories and rock mechanics test data users, what do you think --even after decades of laboratory testing-- are the biggest reasons why there are considerable differences in the apparent rock properties measured by different laboratories?
REPLY from Jim Marquardt, EPI Affiliate
In my experience with a number of rock testing laboratories, indeed I do see considerable variations in the rock properties measured on similar rocks. The variations are not just rock variability, but tend to be either test problems and/or interpretation problems. Strength, shear stiffness and bulk compressibility, and ultra-sonic velocities all at varying confining pressures are among the most common properties measured. Measuring these properties under deep earth conditions is challenging. As one of my colleagues used to say, “if it was easy, everyone would do it”!
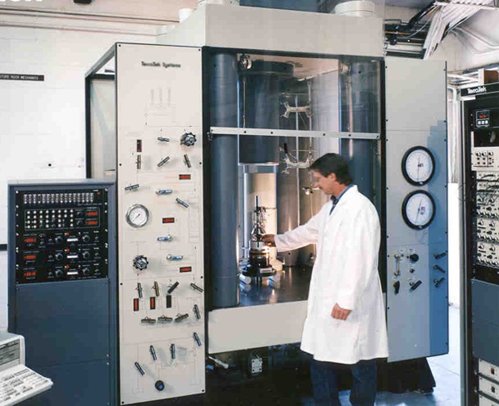
One of the challenges is that rocks vary greatly in strength and stiffness, ranging from unconsolidated sandstones from the deep waters of the Gulf of Mexico, to quartzites encountered in the mining industry, to the all-important shale plays in North America. The first step for measuring properties over this broad range is proper testing system setup and calibration. For example, the range of the load cell and deformation measuring gages is critical. One would not want to use a fifty-thousand pound (50k lbf) load cell when measuring the strength of a 500 psi weak sandstone. Load at failure on a one-inch diameter sample would only be 1% of load-cell capacity.
Equally important is calibration of the instrumentation. One would not want to use a two hundred fifty thousand pound (250k lbf) class “A” instrument to calibrate the 50k lbf load cell noted above. Typically, third party calibration labs will provide a “10-point calibration”. Therefore by using the 250k lbf instrument to calibrate the 50k lbf load cell, only three data points would be utilized, 0, 25,000 and 50,000 pounds. It goes without saying that using that 50k lbf load cell calibrated with a 250k lbf instrument, for testing the weak sandstone noted above, is almost no calibration--yet I sometimes see this.
Measuring rock deformations is more difficult than measuring loads, and may be the source of the largest machine and interpretation problems. The entire "specimen stack" deforms under pressure and load, therefore requiring separating the sample deformation from the entire specimen stack deformation. This leads to Pressure Effect Corrections ("PE’s") and to Load Effect Corrections ("LE’s"). PE’s and LE’s are parameters that are typically directly measured on a standard material with known properties--such as aluminum, and applied either by hand or in the test computer software.
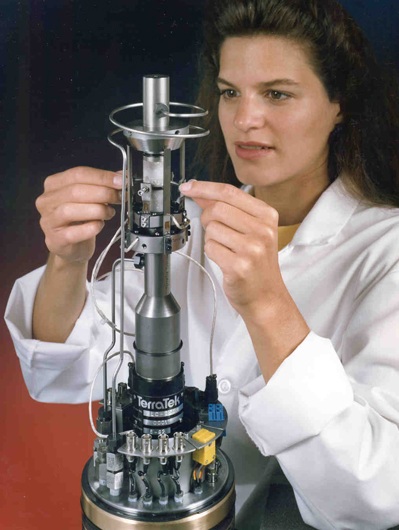
This is not easy, and to complicate matters, very small rock deformations can be involved, for example in measuring pore compressibility. The stiffer the rock and the smaller the sample, the more important these corrections become. And making things more difficult, PE's required for the deformation measuring transducers (inside the high-pressure environment) are not perfect. Transducer calibration tests can be made using a material with known properties (as noted above). But unfortunately, the small deformation of metals under pressure does not "exercise" the transducers to the extent as when deformations are made on the specimen stack. I have had experience with both strain-gauged cantilevers and with LVDT's for measuring the rock deformation. Each has its advantage and its limitations. Overall, rock testing laboratories must be equipped with a wide range of transducers and calibration instruments.
Another area where I have seen errors has to do with the specimen stack and the test computer software aimed to "automatically" take into account the specimen stack, the rock, and the transducers. Since many things affect PE's and LE's, it is critical to maintain a compatible specimen stack, transducer, and test software. I have seen outright errors where something has changed in the setup (like changing transducers, changing endcaps, a repair on a strain gage, or even a different electrical connection) but no change has been made in the PE's or LE’s. Indeed, if these corrections are not properly determined and applied, incorrect apparent properties like Young's modulus, Poisson’s ratio, and bulk compressibility will be reported.
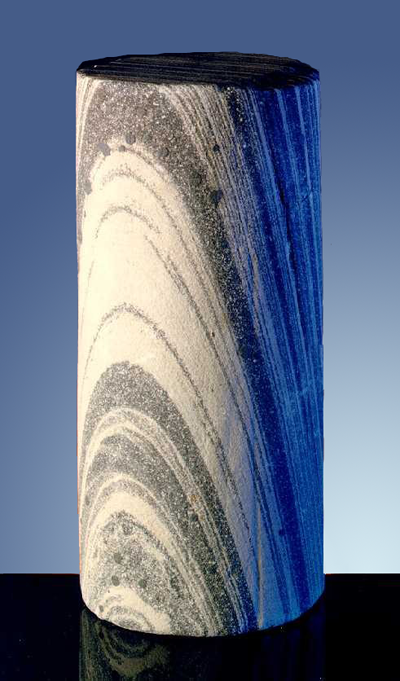
Finally, sample preparation, construction of the specimen stack, and test machine setup are critical. Proper techniques for all are difficult, and require trained individuals. Parallel sample ends, parallel specimen stack metal parts, and parallel machine alignment are required. The overall handling of the sample and placement of transducers are major aspects to be considered. Samples with voids or inclusions or fractures pose special problems as the analysis assumes that samples are statically determinant and that deformation is homogeneous throughout the sample. CT x-ray scans are very valuable to evaluate the quality of the sample prior to and after testing.
In conclusion, testing procedures and analysis of the recorded data determine the properties that are reported. I have seen cases of basic test procedure errors that lead to incorrect apparent properties. In other cases I have seen correct procedures but incorrect analysis of the recorded data. Specimen jacketing, endcap and spacer optimization, sample handling including moisture and temperature conditions, strain gage behavior, pre-loading of samples, and more.... are all details that lead to test scatter or to repeatable results. Experience teaches us that the details are critical! Thoughts anyone??


